who doesnt love a good before and after? i thought i would share a project that is finally finished in our house. it all started way back in june. we purchased some cabinets for our laundry room from a habitat for humanity re-store (i love scouring these places for some good finds). i think we got 6 cabinets for $60! even though they had about an inch of grease on them and were yucky wood....i knew they would clean up well:) of course i forgot to take photos of them before....but you will see the after....in a minute.
we originally had wire shelving in the laundry room that came with the house. as i am sure many of you know...wire shelving is the pits! everything falls over, a total mess. of course i dont have before photos of these either! what i do have is this before/during photo of the laundry room...
this is after sanding, priming and painting the cabinets (i was still working on the doors). if you look really close...under one of the left cabinets you can see a hole? that was our first set back. when kevin put them up, he had a nailer below to keep them all level...when he took the nailer off...a nice chunk of the wall came with it!
soooo....one week this summer when kevin was travelling for work...i decided i was going to really finish this laundry room. and i did...or so i thought. until i discovered about 3 weeks after finishing that kevin had (accidentally) screwed into a pipe when putting up the cabinets! (ahh...live and learn) it had been slowly leaking behind one of the cabinets for about 2 months. so down came one of the cabinets... the pipe got fixed...new drywall went in....and the cabinet back up. and that brings us to october:) but as most DIY projects go in our house....5 months is about right!
now that you are all caught up and on the edge of your seats! here is the after...
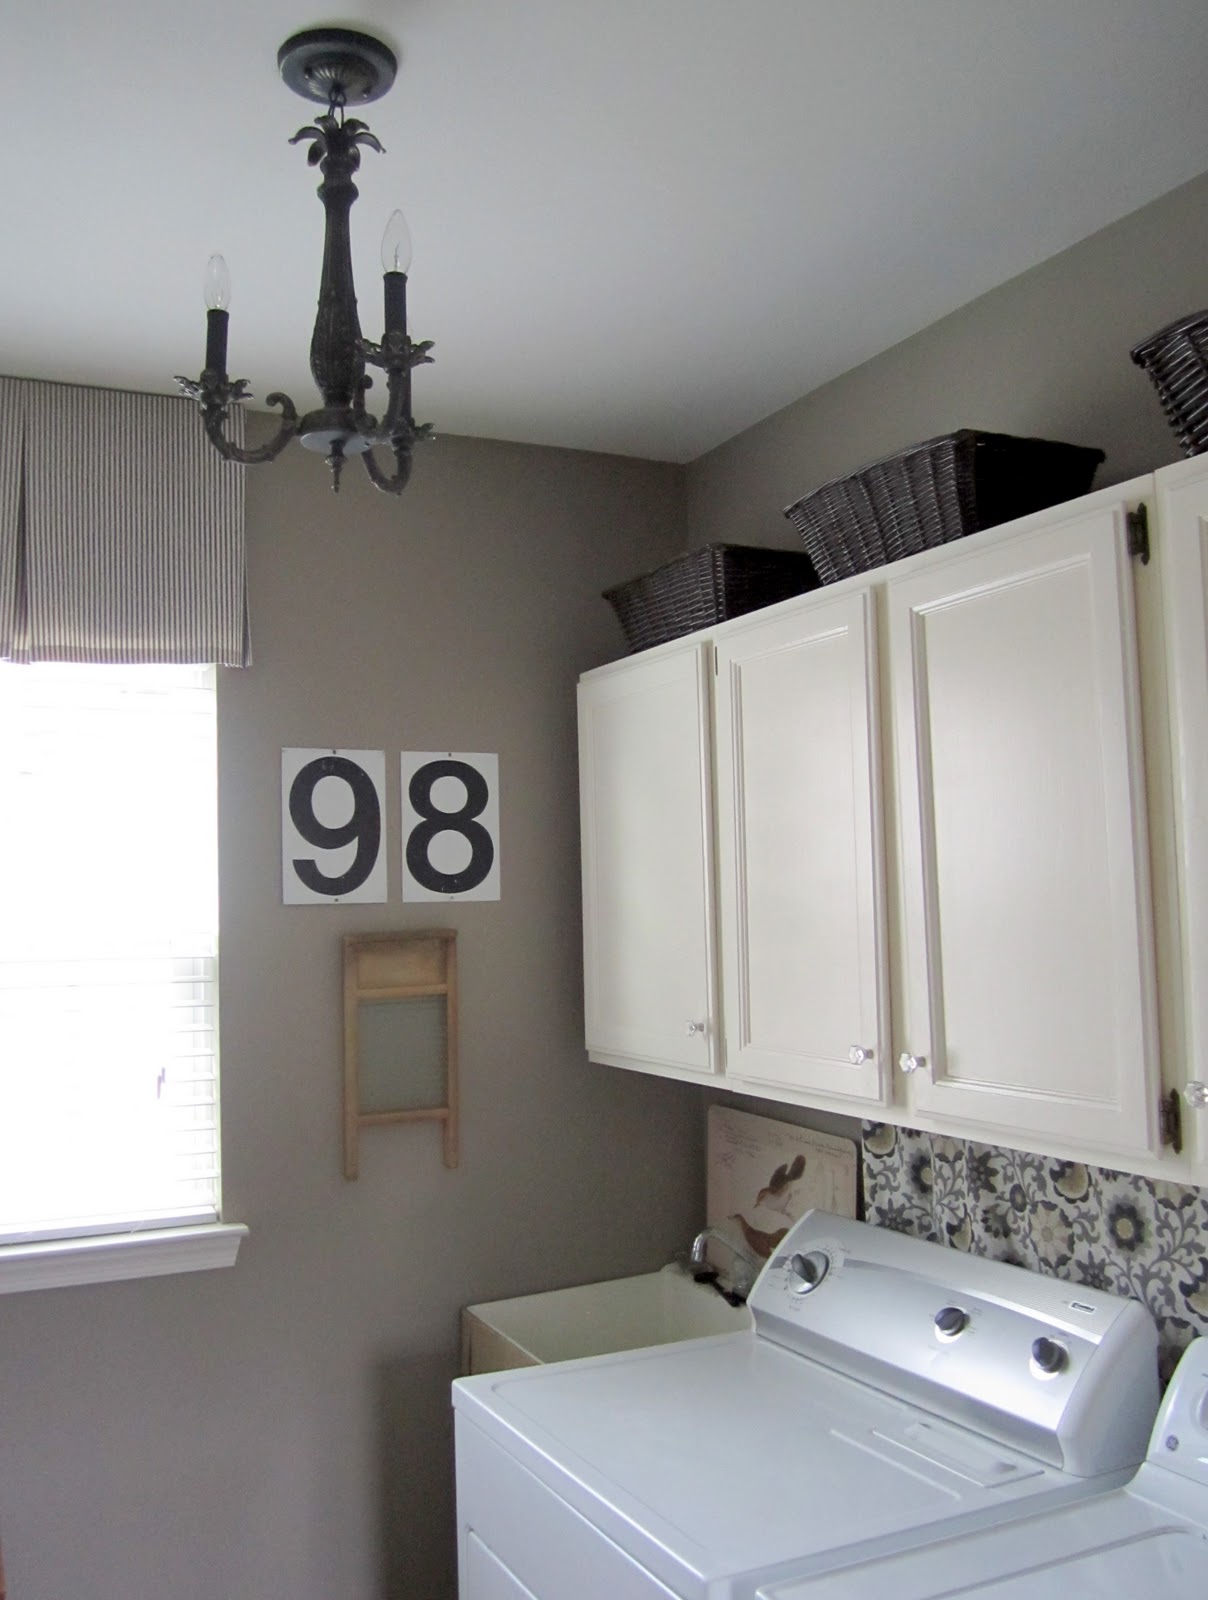
ahh...much better dont you think? here is another before and after of the other side of the room...
this little power house laundry room doubles as a mudroom:) here are more details....i added some lucite knobs to the cabinet doors. my sister-in-law gave me the idea of adding the fabric behind the washer and dryer to cover up all of the plugs and wires...thanks Liz!
i have a bunch of these old gas station pricing numbers. i decided to put the year we got married up...
i am noticing a definite pattern with me lately...i like painting on burlap! i love the way this sink skirt turned out!
oh and this chandelier was from one of my clients who didnt want it for her daughters room....it was white so i gave it a little face lift with dark gray paint...and accented with gold.
last but not least here is the valance i made out of a ticking stripe. i cannot sew...but i can work miracles with stitch witchery!
i hope you enjoyed this little tour. i love my laundry room now:) it was worth all of the effort. unfortunately it hasnt helped me do the laundry and better or faster:(
i have been getting a lot done on my house list lately. stay tuned for photos of my kids bedrooms....
jodie
Showing posts with label DIY. Show all posts
DIY panels
remember the burlap panels my mom sewed way back in august? well i finally got around to stenciling some of them and i am so happy with the way they turned out! i have painted freehand on burlap in the past...but i have never used a stencil. it was pretty easy...just a lot of measuring on the first one. once i got going it only took me about and hour to do each one.
i had to add this one of my faithful assistant....always ready for a beauty shot:)
now i just need to make time to finish the other ones....
jodie
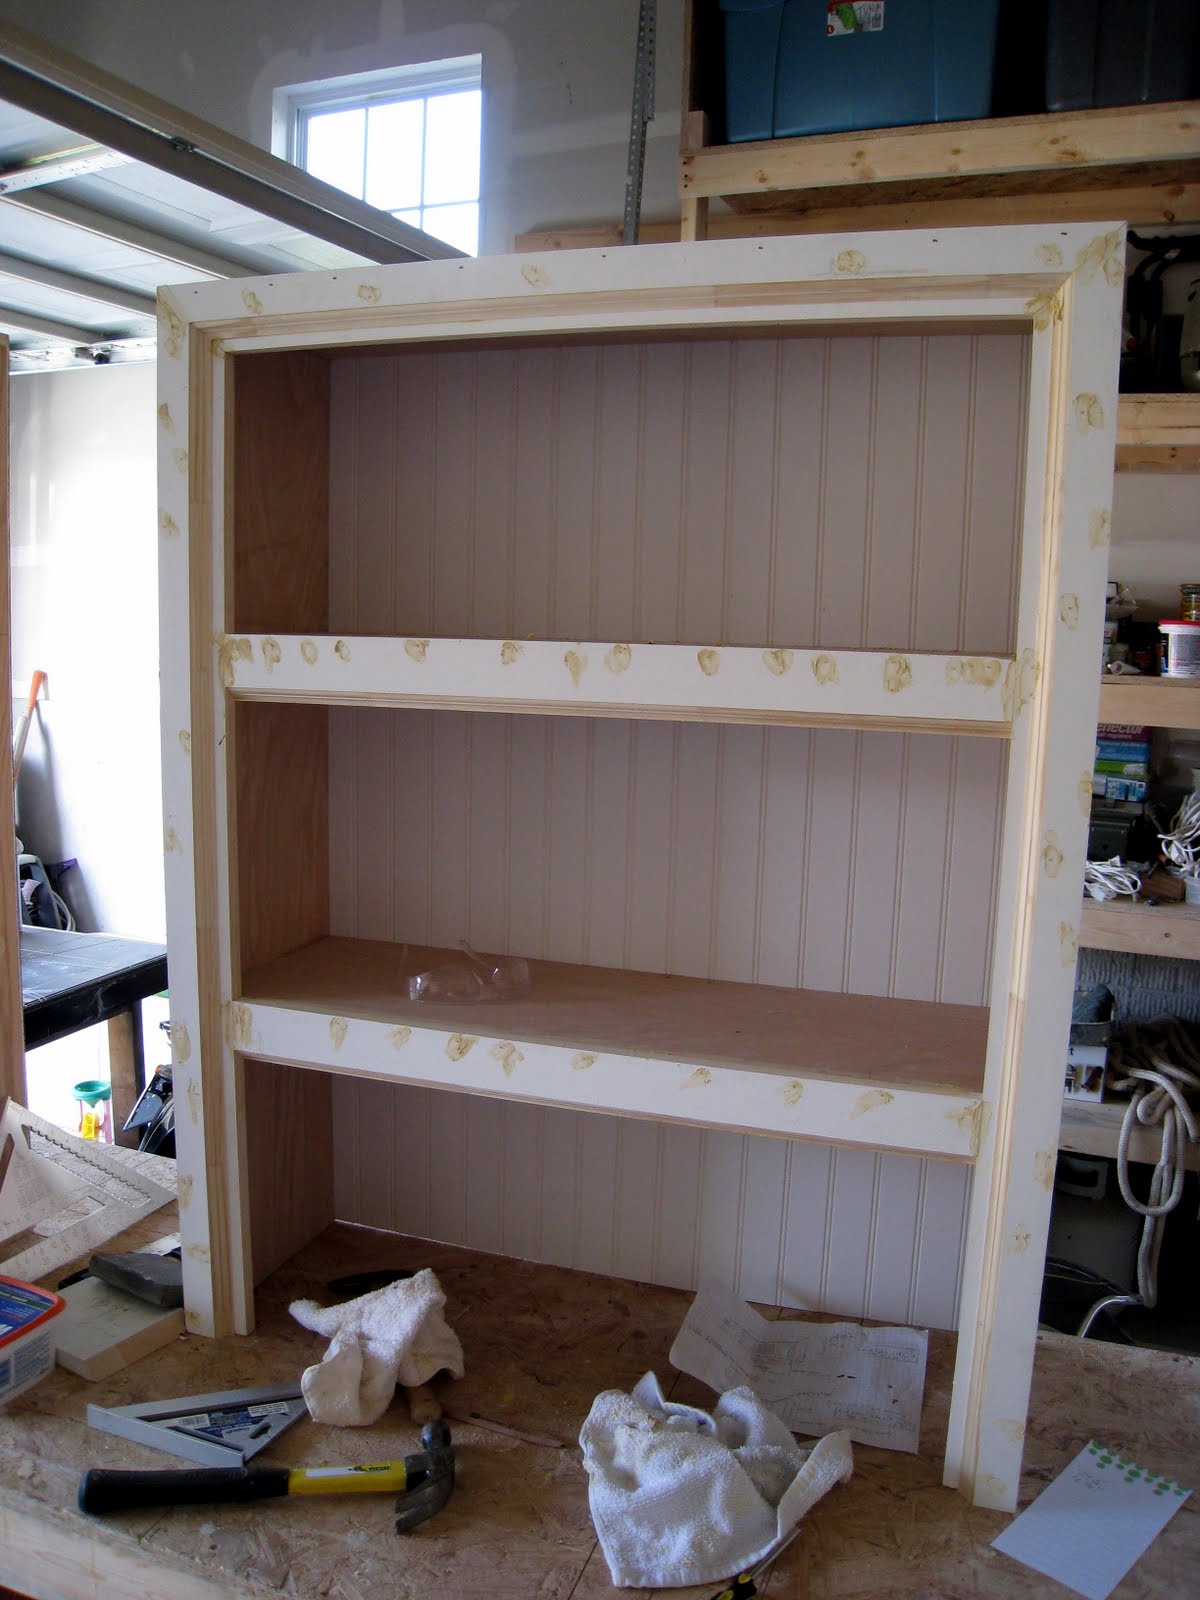
here they are hanging in our dining room. of course when i look at this photo...it just reminds me of how badly i want to get new chairs. (and that my topiary might not make it through the winter:))
i had to add this one of my faithful assistant....always ready for a beauty shot:)
now i just need to make time to finish the other ones....
jodie
rubbish rescue
my husband truly believes that there is no such thing as scrap wood. he honestly can. not. throw. it. away. if you saw our garage you would know what i mean...but i am definitely not inserting a photo of that here! our neighbor is getting a new deck built. this means jackpot for kevin. so this past weekend he went "pile diving"...not to be confused with "dumpster diving" which is his usual folly. one of the perks of living in a new development is having dumpsters full of wood everywhere. he and the kids are often seen riding through the neighborhood carrying wood!
here is the pile (thank you to my model ethan)
and, no joke, about 2 hours later....look what appeared on the deck!
isnt it pretty? he used some old brackets he had laying around. i love the mix of the natural wood and the metal. here it is with more modeling (thank you ethan AND ava)
and thats not all. we have a fire pit on our deck (that didnt make it in the last deck photos b/c it wasnt pretty). this is what it looked like before the the "pile diving"
it was all yucky and rusty. and there was no where to put your feet up on (or your beer:)). now look at it...
ahhh much better! doesnt it look good? we are deciding what color it will be. i think the bench will stay natural, but we might go a little darker with this. it just adds a whole new element to our comfort...
who knew? this man i married didnt even own a tool set when i met him...now he is unstoppable:) i love having a partner in crime. it is amazing what you can do with things people are discarding...especially wood!
jodie
here is the pile (thank you to my model ethan)
and, no joke, about 2 hours later....look what appeared on the deck!
isnt it pretty? he used some old brackets he had laying around. i love the mix of the natural wood and the metal. here it is with more modeling (thank you ethan AND ava)
and thats not all. we have a fire pit on our deck (that didnt make it in the last deck photos b/c it wasnt pretty). this is what it looked like before the the "pile diving"
it was all yucky and rusty. and there was no where to put your feet up on (or your beer:)). now look at it...
ahhh much better! doesnt it look good? we are deciding what color it will be. i think the bench will stay natural, but we might go a little darker with this. it just adds a whole new element to our comfort...
who knew? this man i married didnt even own a tool set when i met him...now he is unstoppable:) i love having a partner in crime. it is amazing what you can do with things people are discarding...especially wood!
jodie
the evolution of our deck
remember how i referenced our deck in a previous post? well i thought i would walk you through the process of how we went from no deck....to a big brown deck...to a nice creamy white deck!
when we purchased our home, our "deck" looked like this...
it really couldn't be called a deck at this point. it was more like a small wooden structure too small to even rest a chair on!
my husband came up with the brilliant idea of moving the stairs to face the back yard and extending the existing structure, instead of just doing a lower deck or patio. this allowed us to have a much larger and seamless, outdoor living space. we had it done last spring and we were so happy. until......we made a HUGE mistake with the stain. we new it was bad, but just kept on staining (more like painting because it was and opaque stain. we learned a big lesson on paying more attention to the transparency when purchasing a custom stain color) anyhoo....like i said we started and just kept on going, telling ourselves we liked it. (let me stop here and explain that it was really me who stained the who entire thing...because kevin had just had back surgery!) so we lived with it like that for the fall and winter.
when spring came kevin announced that he seriously could not live with the dark brown stain another minute and that he wanted it white. i promptly responded NO WAY (to the white and/or re-doing it all ). but my husband is very persuasive. so basically i said ok....but you are painting it! he then went out and bought a paint sprayer (and i am thinking...why didn't we buy that lat summer?!?). i picked a nice white which you will see in the picture below (along with the dark brown), but it was too white...almost gray.
so back to lowes i went and begged the nice young man at the paint counter to try to alter it. he tried and got so fed up that he ended up mixing me a whole new batch in the color i wanted:) this is what we ended up with ...and we are both so happy!
it looks so fresh and happy! it honestly made the inside of the house brighter as well....
it so warm and cozy out there now. thanks to the umbrella we got from my in-laws and a rug. there is still a lot to do...more touch up, finding the right greens to climb the lattice and adding a feature wall. all in good time. i dont think we ever thought we would have a painted deck. we like more of a natural wood look, but this will have to do for now. like i have said before...."in our next house..."
jodie
tea time
sometimes the smallest changes make me so happy. right now i am borrowing a dining room chandelier from my friend (thanks marijke). it was sitting in her garage and she wasnt quite ready to part with it for good. so i suggested that it come and live at my house for a while:) at first i didnt want to invest in shades for it because it wasnt mine for good. then i found some inexpensive shades at lowes but they were too white (and a little small). i bought them anyway. i knew i could change the color...i just wasnt sure how. then it came to me! for halloween in 2009 ethan wanted to be obi-wan kenobi. i decided to put together a homemade version. i wanted to use his karate jacket ...but it was too white. so i tea stained it!
i cant resist adding this photo of them in their costumes from that year. they look so young to me in this picture.
have you figured out where this is headed? yep....i tea stained the shades! and i love them. even though everyone in my family says that they cant tell the difference. i can...and isnt that what is most important? i basically just made a big bowl of tea with about 5 or 6 tea bags.
i let each soak for about 20 minutes. this was all an experiment....there was no exact science was involved. here is a shot of one before (on the left) and one after the tea staining. i can tell the difference...can you?
i am fully aware that it is hard to tell in the photos....but i really wanted to share my little victory. here are all of the shades before.....
and here they are after....you might have to adjust your screen a little to really tell:)
i know it is subtle...but totally worth the time and effort. the tea soaking just took the edge off of the stark white shades. i couldnt be happier with the result. so even if you cant tell...trust me it works!
jodie
jodie
the big, bad(a**), built-in
when we bought our new house almost two years ago...much to my dismay we didnt get the fireplace option! we wanted it on a certain wall between two windows....but a new "code" stated that it wasnt ok there b/c of wind?!?! huh? thats what the builder told us...or thats what my husband told me! so, i immediately decided that i wanted a built-in on the other big empty wall. i turned to my resident DIY expert to build it. i love how it turned out....so i thought i would share it....through the stages....with lots of pictures.....i like to use the dot dot dot......
and another view...
that is the first of many house projects i plan to show you! there is always something going on around here. the other day my son asked "when daddy is done with that crown molding...then will the house be done?" of course the answer was no:) there is a huge learning curve with this blog business...so i hope you will stay with me while i figure it all out. first up....some better photography!
jodie
here is the room when we first moved in (yikes!)
here is kevin in his favorite spot, working on the base for the sides
here they are placed in the room...like the paint job?
now it was time to make the middle cabinet for the base
and here it is in the room....with primer and a lot of wires!
and here i am (the ever faithful assistant) holding up the "bridge" and the doors are on
and here is the final product......it is big and i love it!
and another view...
that is the first of many house projects i plan to show you! there is always something going on around here. the other day my son asked "when daddy is done with that crown molding...then will the house be done?" of course the answer was no:) there is a huge learning curve with this blog business...so i hope you will stay with me while i figure it all out. first up....some better photography!
jodie
Subscribe to:
Posts (Atom)